 Pin it
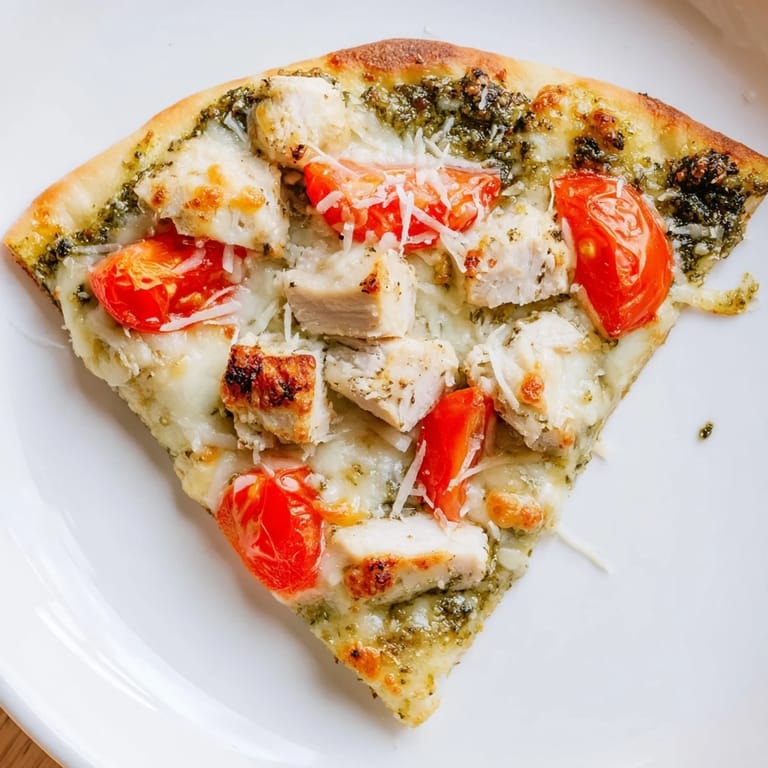
 I started making this pizza on weeknights when I was too tired to think but craved something that tasted like effort. The pesto does all the heavy lifting, turning plain chicken and dough into something that smells like a Italian trattoria. My daughter used to pick off the tomatoes until one night she didn't, and now she asks for extra. It's funny how a simple swap from red sauce to green can make pizza feel new again.
The first time I served this to friends, I worried it was too simple. But when someone reached for a third slice and said it tasted like summer, I stopped apologizing for easy recipes. There's something about the way the chicken soaks up the pesto and the tomatoes blister just slightly at the edges. We ate it on the back porch with cold beer, and it became the pizza I make when I want to feel like I'm hosting without the stress.
Ingredients
- Thin pizza crust: The thinner the crust, the crispier it gets, and that contrast with the creamy toppings is everything.
- Cooked chicken breast: I use leftovers or rotisserie chicken and toss it in olive oil so it doesn't dry out in the oven.
- Basil pesto: This is your sauce and your seasoning in one, so use a good quality pesto or make your own if you have fresh basil on hand.
- Shredded mozzarella cheese: It melts into gooey pockets and holds everything together without overwhelming the other flavors.
- Ripe tomato: Slice it thin so it softens but doesn't make the pizza watery.
- Grated Parmesan cheese: A little goes a long way for that nutty, salty finish.
- Fresh basil leaves: Optional, but a few torn leaves on top make it look and taste like you care.
Tired of Takeout? 🥡
Get 10 meals you can make faster than delivery arrives. Seriously.
One email. No spam. Unsubscribe anytime.
Instructions
- Get the oven blazing hot:
- Preheat your oven to 475°F and if you have a pizza stone, let it heat up inside. The high heat is what gives you that crispy, golden crust.
- Season the chicken:
- Toss your cooked chicken with olive oil, salt, and pepper in a small bowl. This keeps it moist and flavorful instead of rubbery.
- Prep your crust:
- Lay the pizza crust on a baking sheet or pizza peel lined with parchment paper. The parchment makes transferring it so much easier.
- Spread the pesto:
- Use a spoon to spread the basil pesto evenly across the crust, leaving about half an inch around the edges. Don't be shy, this is your sauce.
- Add the chicken:
- Scatter the seasoned chicken pieces evenly over the pesto. Try to distribute them so every slice gets some.
- Layer the cheese and tomatoes:
- Sprinkle the mozzarella all over, then lay the tomato slices on top. Finish with a dusting of Parmesan.
- Bake until bubbly:
- Slide the pizza into the hot oven and bake for 12 to 15 minutes. You're looking for melted, bubbly cheese and a crust that's golden brown at the edges.
- Garnish and slice:
- Let it cool for just a minute, then scatter fresh basil leaves over the top if you like. Slice it up and serve while it's still steaming.
 Pin it
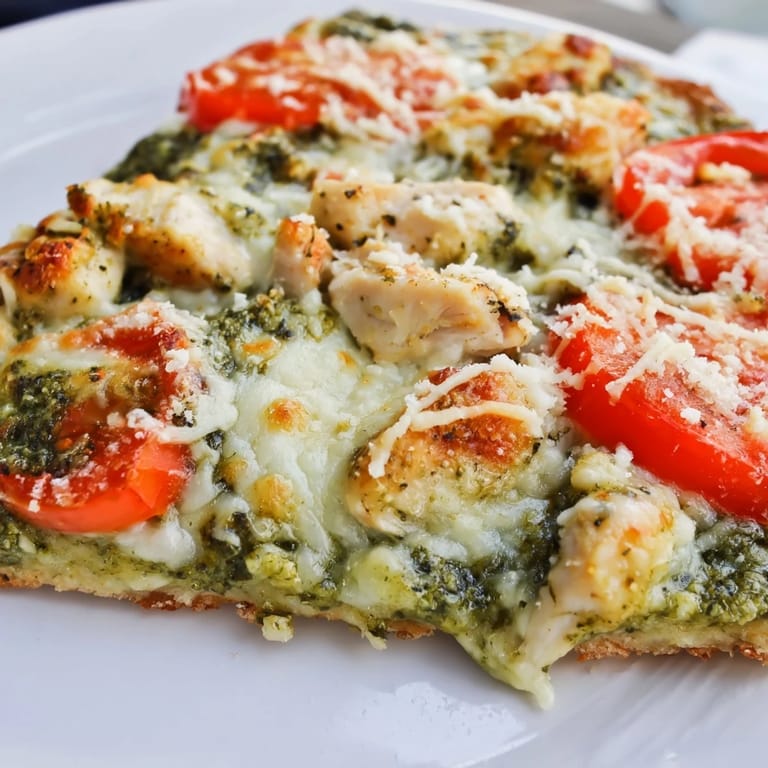
 I remember making this on a rainy Saturday when my son had friends over, and they devoured it so fast I had to make a second one. One of the kids asked if we owned a restaurant. It's moments like that when you realize food doesn't have to be complicated to be memorable. This pizza has become my go-to for low-key gatherings because it feels special without making me stressed.
Choosing Your Pesto
Not all pesto is created equal, and I learned that the hard way with a jar that tasted more like oil than basil. If you're buying it, look for one with bright green color and basil listed as the first ingredient. Homemade pesto is worth it if you have a food processor and fresh basil from the garden or farmer's market. I make big batches in summer and freeze it in ice cube trays so I always have some ready to go.
Getting the Crust Right
I used to think pizza crust had to be homemade to be good, but a quality store-bought thin crust changed my mind. The key is getting it really crispy, which means a hot oven and not too many wet toppings. If you're using a baking sheet instead of a pizza stone, preheat the sheet for a few minutes before adding the pizza. That little trick mimics the stone and gives you a crispier bottom.
Make It Your Own
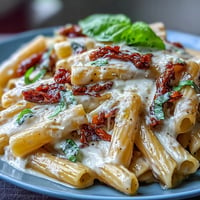
This pizza is forgiving and loves improvisation. I've swapped in sun-dried tomatoes when I didn't have fresh ones, and the concentrated sweetness was incredible. Arugula tossed on top right after baking adds a peppery bite. Sometimes I drizzle balsamic glaze over the finished pizza for a sweet-tangy contrast.
- Try adding caramelized onions for a touch of sweetness.
- Use grilled chicken instead of plain for a smoky depth.
- Swap mozzarella for burrata if you want to feel fancy.
 Pin it
 This pizza proves that weeknight dinners don't have to be boring or stressful. It's become one of those recipes I make without thinking, and every time it comes out of the oven, I'm reminded why simple food made with care is often the best kind.
Recipe FAQs
- → Can I make this pizza with store-bought crust?
Yes, store-bought pizza crust works perfectly and saves preparation time. Simply follow the instructions starting from preheating the oven and spreading pesto on the crust.
- → What type of pesto works best?
Fresh basil pesto offers the most vibrant flavor, but store-bought versions are equally convenient. Check store-bought varieties for allergens if you have tree nut sensitivities, as some contain pine nuts.
- → How can I make this gluten-free?
Substitute a gluten-free pizza crust for the regular one. The remaining ingredients are naturally gluten-free, making the entire pizza suitable for gluten-free diets.
- → Should I use fresh or cooked chicken?
Pre-cooked chicken breast is essential for this pizza since the baking time is short. You can use leftover chicken, rotisserie chicken, or freshly cooked chicken breast diced into bite-sized pieces.
- → What temperature should the oven be?
Preheat your oven to 475°F (245°C). Using a pizza stone placed in the oven while preheating creates an extra crispy crust, though a baking sheet lined with parchment paper works well too.
- → Can I prepare this pizza ahead of time?
Assemble all components ahead and store separately in the refrigerator. Assemble and bake just before serving for the best texture and optimal melting of cheese.