 Pin it
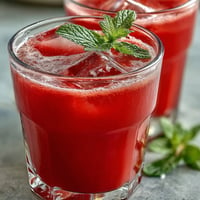
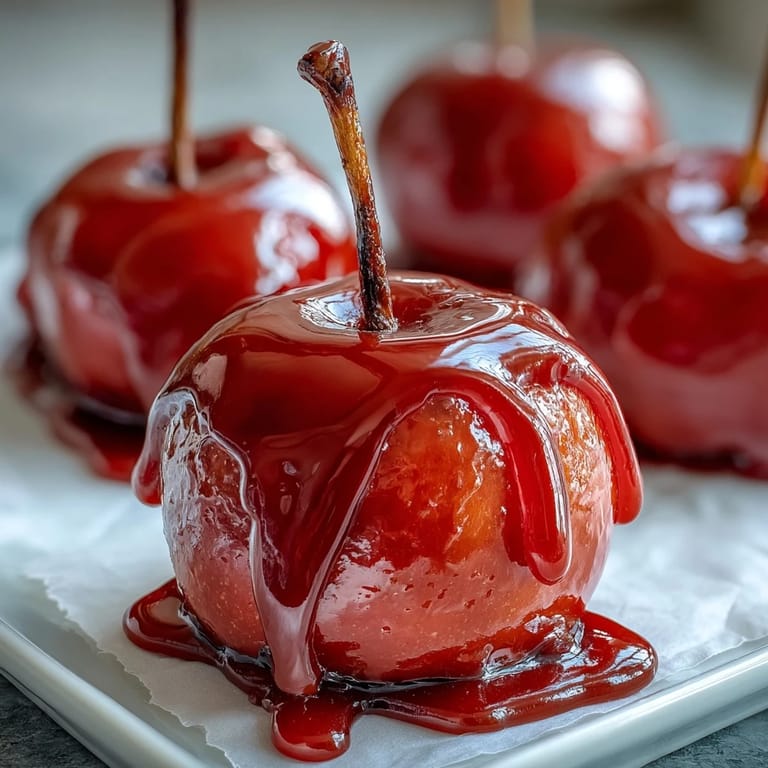
 My daughter came home from school buzzing about the candy apples she'd seen at a fair, and I realized I'd been overthinking it all these years. That weekend, I pulled out a candy thermometer I'd forgotten I owned and made these shiny, ruby-red beauties with her standing on a stool beside me, eyes wide as the syrup transformed into liquid glass. What struck me most wasn't the Instagram-worthy shine—it was how her face lit up when she bit through that crisp candy shell and tasted the tart apple underneath, the contrast so perfect it felt intentional rather than accidental.
I brought a batch to my sister's Halloween party last year, and they disappeared faster than the savory snacks, which honestly surprised me since everyone had just watched people carve pumpkins. A toddler came up asking for seconds with red syrup all over his face, and his mom shot me a look of gratitude that made the whole sticky cleanup worth it.
Ingredients
- Small apples (Gala, Fuji, or crabapples): Use 8 small ones or 16 crabapples depending on how bite-sized you want them; I learned the hard way that Red Delicious apples are too mealy for this, and the texture suffers.
- Granulated sugar: The foundation of your candy coating, and it must be granulated—don't substitute powdered sugar or you'll end up with a grainy, dull finish.
- Light corn syrup: This keeps the candy from crystallizing and gives it that glass-like shine; dark corn syrup will muddy your red color.
- Water: Just plain tap water to bring everything into liquid form before the heat does its magic.
- Red gel food coloring: Gel is non-negotiable here because liquid food coloring adds extra moisture that can throw off your candy's texture and consistency.
- Wooden sticks: Lollipop or popsicle sticks work equally well; I buy mine in bulk since they're so cheap and kids break them constantly.
- Nonstick cooking spray or parchment paper: This prevents sticking and makes cleanup something you'll actually want to do again next week.
Tired of Takeout? 🥡
Get 10 meals you can make faster than delivery arrives. Seriously.
One email. No spam. Unsubscribe anytime.
Instructions
- Prepare your apples:
- Wash and dry them completely—any moisture on the skin will cause the candy to slide right off. If you're using large apples, halve them and scoop out seeds with a melon baller, then push a wooden stick firmly into the stem end.
- Set up your workspace:
- Line a baking sheet with parchment paper and lightly grease it, or use a silicone mat sprayed with nonstick spray. You want a clean landing zone because hot candy syrup is not forgiving.
- Combine your candy base:
- Pour sugar, corn syrup, and water into a medium saucepan and stir over medium heat until the sugar fully dissolves. You'll see the mixture transition from grainy to smooth, and that's your cue things are working.
- Bring to hard crack stage:
- Crank the heat to high and let it boil without stirring—this is crucial because stirring causes crystallization and you'll end up with grainy candy instead of glossy. Use a candy thermometer and watch until it hits 290°F, which takes about 8 to 10 minutes.
- Add your color:
- Remove from heat and carefully stir in the red gel coloring until it's evenly distributed throughout the syrup. The heat will keep the syrup fluid enough to coat smoothly.
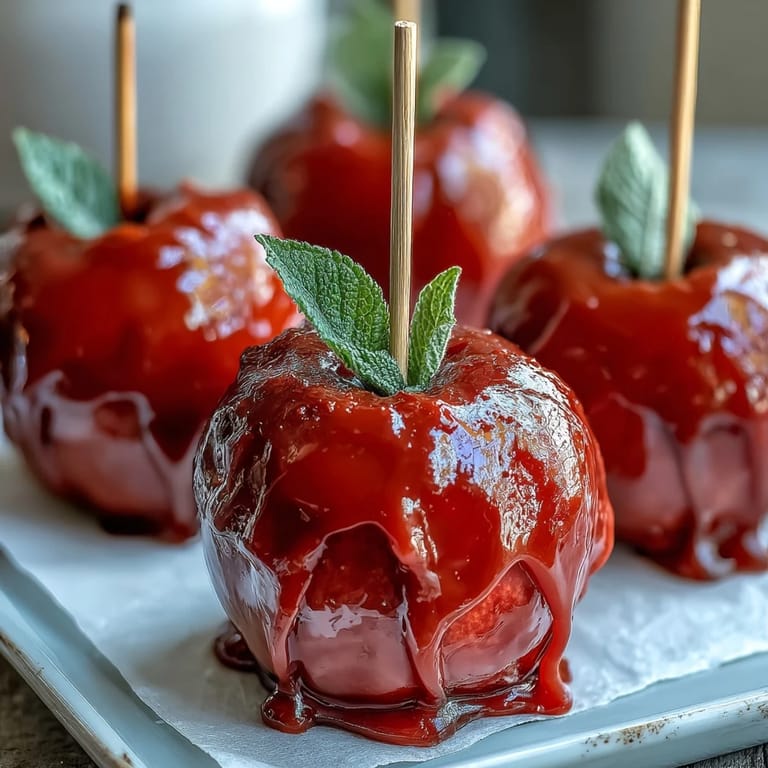
- Dip with confidence:
- Work quickly—dip each apple into the hot coating with a swirling motion to cover it evenly, then let the excess drip off for a second before placing it on your prepared sheet. The candy cools fast, so if it becomes too thick to dip smoothly, you can gently reheat it over low heat.
- Let it set:
- Leave the apples undisturbed at room temperature for about 10 minutes until the coating hardens completely. Do not refrigerate, which will make the candy sticky and ruin all your hard work.
 Pin it
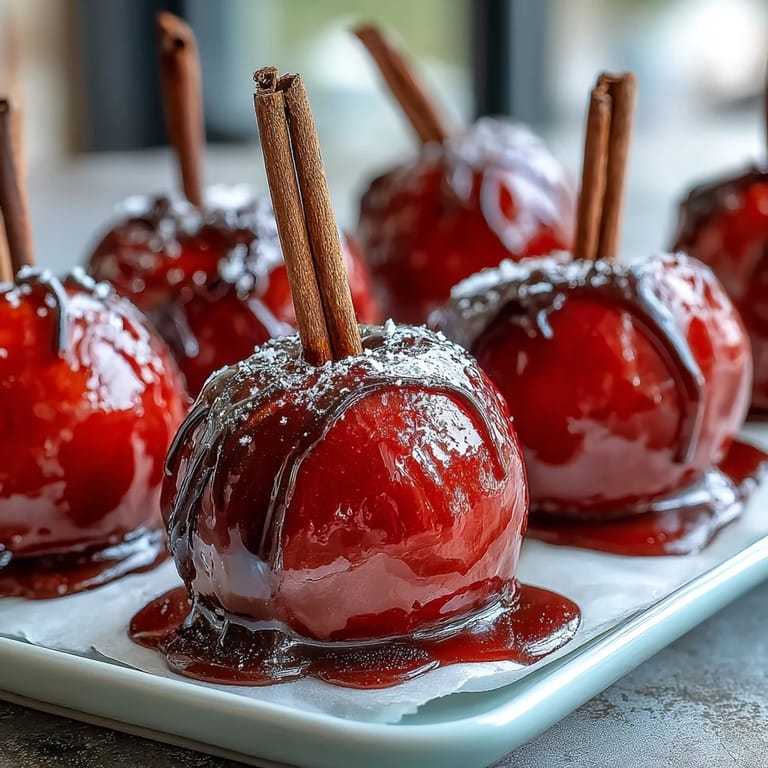
 One autumn afternoon, my niece came back from her friend's house talking about these 'magic apples' she'd had, and something about the way she described them—the way the red shell crackled when she bit it—made me understand why people love making food for others. These candy apples aren't complicated, but they feel like a celebration every time you pull one out.
The Secret to a Perfectly Smooth Candy Shell
The difference between candy that shines like glass and candy that looks dull comes down to three things: hitting the exact right temperature, using gel food coloring instead of liquid, and not stirring once the mixture comes to a boil. I once tried to stir the boiling mixture because I got impatient, and it crystallized into a grainy mess that looked like rough sugar instead of smooth candy. Now I set a timer, put my hands down, and trust the process—it's harder than it sounds, but the result is always worth the restraint.
Decorating Your Candy Apples
The fun part is happening while the candy is still soft, so if you want sprinkles or crushed cookies to stick, you have maybe 30 seconds after dipping before the coating starts to set. Some people dip their apples in chopped nuts or mini chocolate chips, though be aware this adds allergens if anyone at your party has restrictions. I've found that rolling the freshly dipped apple in crushed candy canes in December makes them feel extra festive without any extra effort.
Storage and Serving Tips
Store these at room temperature in an airtight container, and they'll stay crisp and beautiful for 3 to 4 days—though honestly, they rarely last that long. Keep them away from direct sunlight and humid spaces, which can soften the candy shell and make it sticky.
- If the candy coating starts to soften while you're working, you can gently reheat the saucepan over low heat for about a minute to get it back to the right dipping consistency.
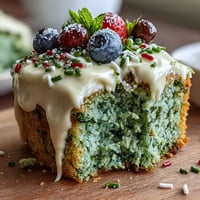
- Green or blue gel coloring gives you other festive options, and you can even drizzle contrasting colors over the set apples if you're feeling fancy.
- Always let kids cool down a bit before biting into one—the apple itself stays warm under that candy shell, and biting straight into hot fruit is a mistake they'll only make once.
 Pin it
 These little candy apples are proof that the simplest recipes sometimes create the biggest moments. Make them once, and you'll find yourself making them again whenever you want to see someone's face light up.
Recipe FAQs
- → What types of apples work best for these treats?
Small apples like Gala, Fuji, or crabapples work best because they're easy to handle and provide the perfect bite size.
- → How do you ensure the candy coating hardens properly?
Cooking the sugar mixture to the hard crack stage (around 290°F) ensures the candy sets with a crisp shell once cooled.
- → Can different colors be used for the candy coating?
Yes, gel food coloring can be swapped to green, blue, or any preferred shade to customize the appearance.
- → Are there tips for handling the hot sugar syrup safely?
Careful adult supervision is recommended when working with hot syrup due to its high temperature and stickiness.
- → How can I add extra texture or flavor to the coated apples?
Before the coating hardens, dip the apples into sprinkles, crushed cookies, or mini chocolate chips for added fun and taste.
- → Is refrigeration recommended after coating?
Refrigeration is not advised as it may cause the candy shell to become sticky; let the coating set at room temperature instead.