 Pin it
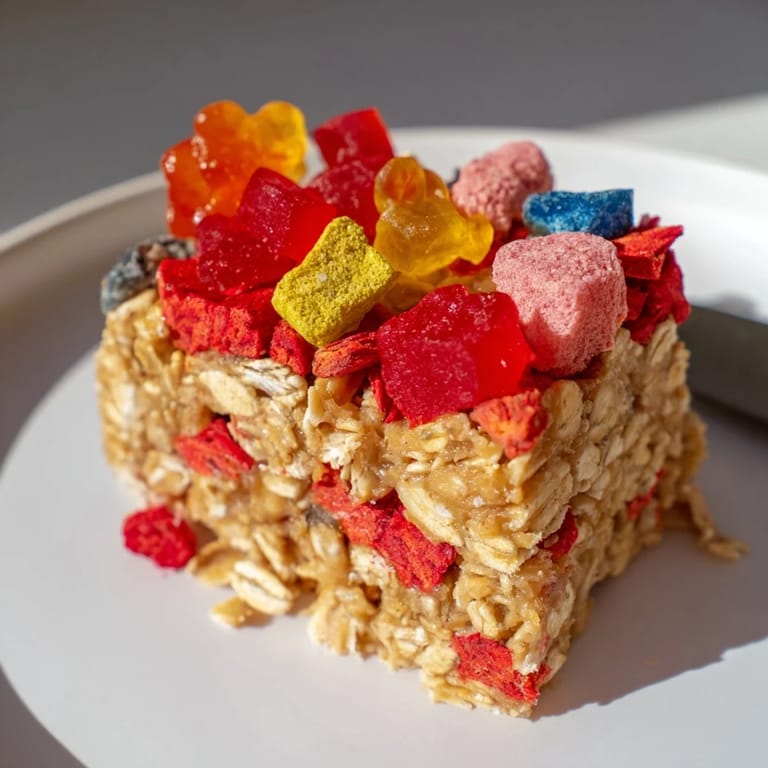
 A playful, colorful treat featuring chewy homemade gummies, crispy freeze-dried candies, and a wholesome oat base—perfect for snack lovers and candy fans alike.
My first experiment with these bars was a hit at a family picnic, and everyone loved the chewy gummies mixed with the crunchy candy and oat base. They are a frequent request now for weekend snack projects.
Ingredients
- Rolled oats: 2 cups
- Almond butter (or peanut butter): 1/2 cup
- Honey or maple syrup: 1/3 cup
- Unsalted butter, melted: 1/4 cup
- Vanilla extract: 1/2 tsp
- Pinch of salt
- 100 percent fruit juice (e.g., apple, berry, or orange): 1 cup
- Unflavored gelatin: 2 tbsp
- Honey or agave syrup: 2 to 3 tbsp
- Freeze-dried fruit (e.g., strawberries, raspberries), lightly crushed: 1 cup
- Freeze-dried candy (e.g., Skittles, marshmallows, or similar), crushed or chopped: 1 cup
Tired of Takeout? 🥡
Get 10 meals you can make faster than delivery arrives. Seriously.
One email. No spam. Unsubscribe anytime.
Instructions
- Prepare pan:
- Line an 8x8-inch baking pan with parchment paper.
- Make oat base:
- In a large bowl, mix together rolled oats, almond butter, honey, melted butter, vanilla, and salt until well combined. Press mixture evenly into the prepared pan. Refrigerate while you prepare the gummies.
- Prepare gummies:
- Pour fruit juice into a small saucepan. Sprinkle unflavored gelatin over the juice and let sit for 5 minutes. Heat gently over low, stirring until gelatin dissolves. Add honey, stir well, and pour into a parchment-lined small baking dish. Chill in refrigerator for 45 to 60 minutes until set.
- Cut gummies:
- Once set, cut gummies into small cubes.
- Add toppings:
- Remove oat base from fridge. Sprinkle evenly with homemade gummy cubes, freeze-dried fruits, and freeze-dried candy. Press toppings gently into the base.
- Final chill:
- Chill the pan for an additional 10 to 15 minutes to set.
- Cut into bars:
- Lift out using parchment paper and cut into bars.
 Pin it
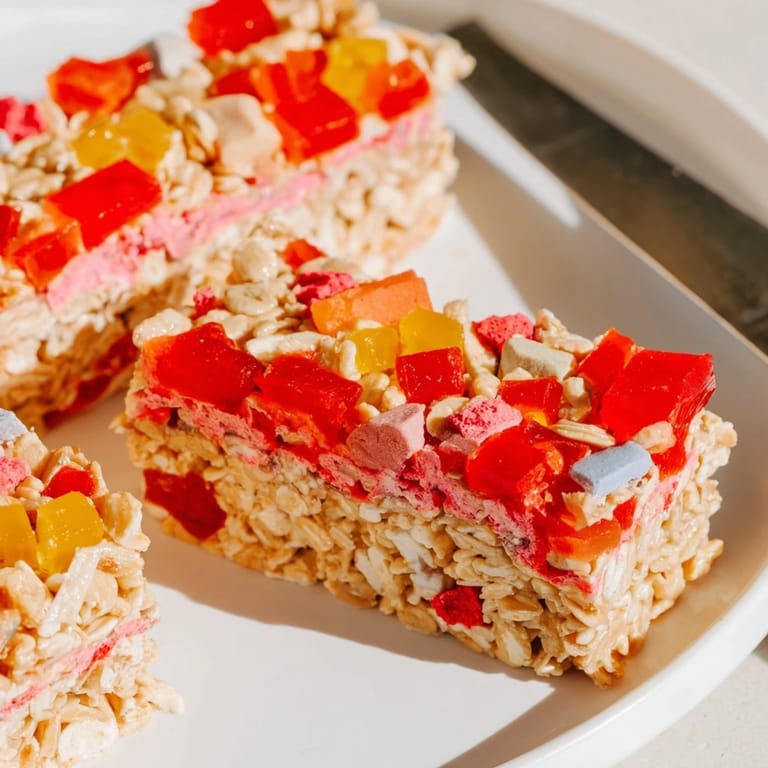
 Making these bars quickly became a tradition with my kids, who love helping to scatter their favorite candy and fruit pieces on top before chilling the bars.
Required Tools
You will need an 8x8-inch baking pan, parchment paper, mixing bowls, a saucepan, a spatula, and a knife for cutting.
Allergen Information
This recipe contains nuts and dairy, though both can be substituted. It also contains gelatin, so it is not suitable for vegans. Always verify ingredients if serving to those with allergies.
Nutritional Information (per bar)
Each bar contains about 170 calories, 7 g fat, 25 g carbohydrates, and 3 g protein.
 Pin it
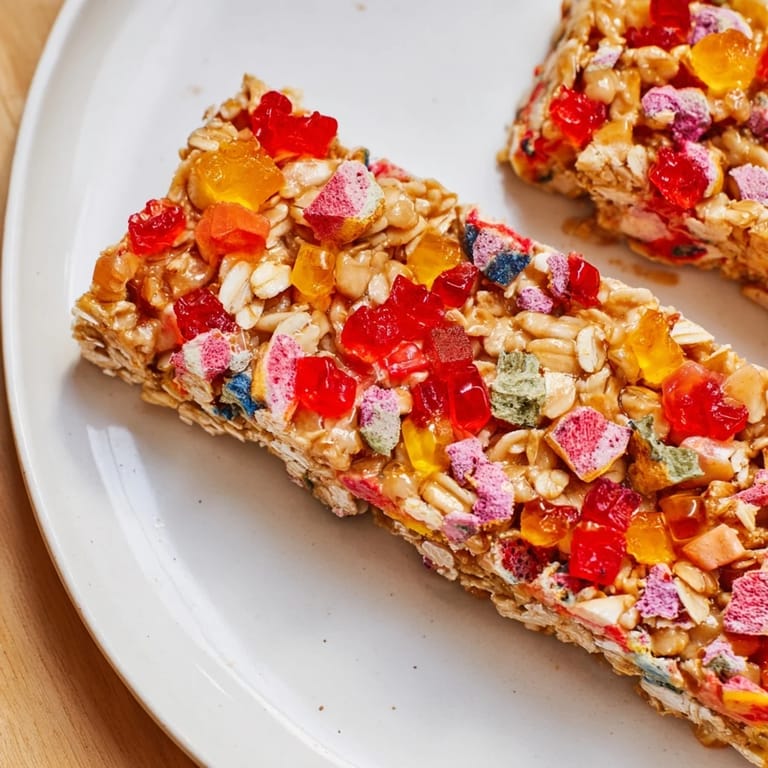
 Enjoy these DIY snack bars freshly chilled or store in the fridge for up to 5 days. They are perfect for parties or an afternoon treat.
Recipe FAQs
- → Can I make these bars nut-free?
Yes, you can substitute almond butter with sunflower seed butter or another favorite seed spread for a nut-free option.
- → How do I get rainbow colors in my gummies?
Use different types of fruit juices to create batches of gummies in various colors, then mix them together for a bright effect.
- → What’s the best way to cut the bars?
Lift the chilled mixture out of the pan using parchment paper and slice with a sharp knife for clean edges.
- → Can I make this dairy-free?
Swap out the butter for coconut oil to create a dairy-free version that still delivers rich flavor and texture.
- → Are these bars suitable for vegans?
The gummies contain gelatin, which isn’t vegan. You can try vegan gelatin alternatives for a plant-based version.
- → What candies work best as toppings?
Freeze-dried fruits, Skittles, marshmallows, or similar crispy candies add color and crunch to the bars.
- → How do I store these snack bars?
Keep them chilled in an airtight container for up to three days to maintain freshness and texture.