 Pin it
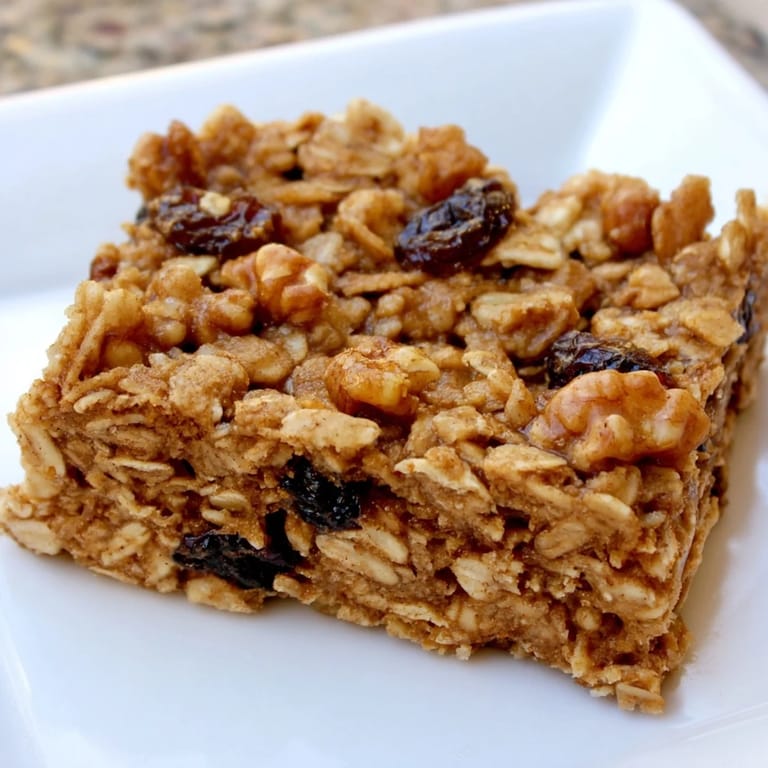
 I started baking these bars on Sunday nights when I realized grabbing breakfast during the week was always chaos. The smell of cinnamon and maple filling the kitchen became my favorite way to close out the weekend. They're sturdy enough to toss in a bag, soft enough to feel like a treat, and honest enough that I don't feel guilty handing them to my kids. Now they've become the thing I make when I need something reliable and warm without much fuss.
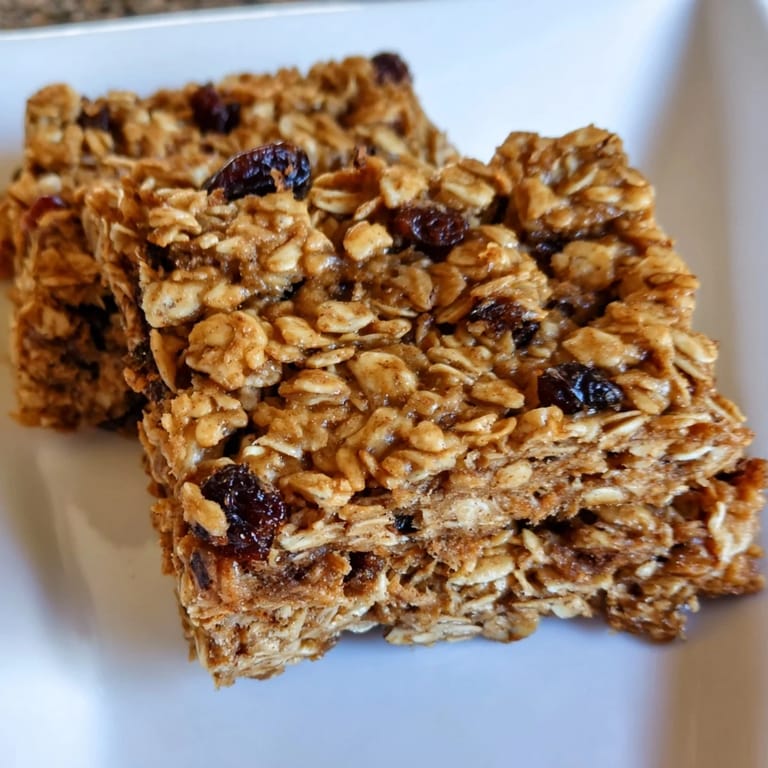
I remember cutting these into squares for a breakfast potluck and watching people come back for seconds. One friend asked if they were from a bakery, which made me laugh because I'd made them in my pajamas the night before. There's something about pulling a pan of golden, fragrant bars from the oven that feels like you've done something generous, even if it only took fifteen minutes of actual work.
Ingredients
- Old-fashioned rolled oats: They give the bars their hearty chew and hold everything together without turning gummy like quick oats would.
- Whole wheat flour: Adds structure and a subtle nutty flavor that balances the sweetness, though all-purpose works if that's what you have.
- Ground cinnamon: This is the warmth you smell first, the reason the kitchen feels inviting while they bake.
- Baking powder: Just enough lift to keep the bars from being dense, so they stay tender instead of heavy.
- Salt: A small amount that makes the maple syrup taste more like itself and less like sugar.
- Pure maple syrup: The backbone of the sweetness, with a depth that honey or agave can't quite match.
- Unsalted butter or coconut oil: Melted butter adds richness, but coconut oil keeps them dairy-free and still moist.
- Unsweetened applesauce: It keeps the bars soft and cuts down on the fat without making them taste like apples.
- Large egg: Binds everything so the bars slice cleanly and don't fall apart in your hand.
- Vanilla extract: A teaspoon that rounds out the maple and makes the whole thing smell like someone who knows what they're doing.
- Chopped nuts: Walnuts or pecans add crunch and a little protein, but they're easy to skip if you need to.
- Raisins or dried cranberries: Pockets of chewy sweetness that make each bite a little different from the last.
Tired of Takeout? 🥡
Get 10 meals you can make faster than delivery arrives. Seriously.
One email. No spam. Unsubscribe anytime.
Instructions
- Prep the pan:
- Preheat your oven to 350°F and line an 8x8-inch pan with parchment, letting it hang over the sides. This little trick means you can lift the whole slab out later and skip the awkward cutting in the pan.
- Mix the dry ingredients:
- Combine oats, flour, cinnamon, baking powder, and salt in a large bowl, stirring until the cinnamon is evenly distributed. It should smell like a quiet Saturday morning.
- Whisk the wet ingredients:
- In another bowl, whisk together maple syrup, melted butter, applesauce, egg, and vanilla until smooth and glossy. The maple syrup will coat the whisk and smell almost caramelized.
- Combine and fold:
- Pour the wet mixture into the dry and stir gently until just combined, then fold in nuts and dried fruit if you're using them. Overmixing makes them tough, so stop when you stop seeing dry patches.
- Spread and bake:
- Press the batter evenly into the prepared pan, smoothing the top with the back of a spoon or your fingers. Bake for 22 to 25 minutes until the edges turn golden and a toothpick comes out clean.
- Cool and cut:
- Let the bars cool completely in the pan before lifting them out by the parchment. Cut into 12 squares with a sharp knife, wiping it between cuts for clean edges.
 Pin it
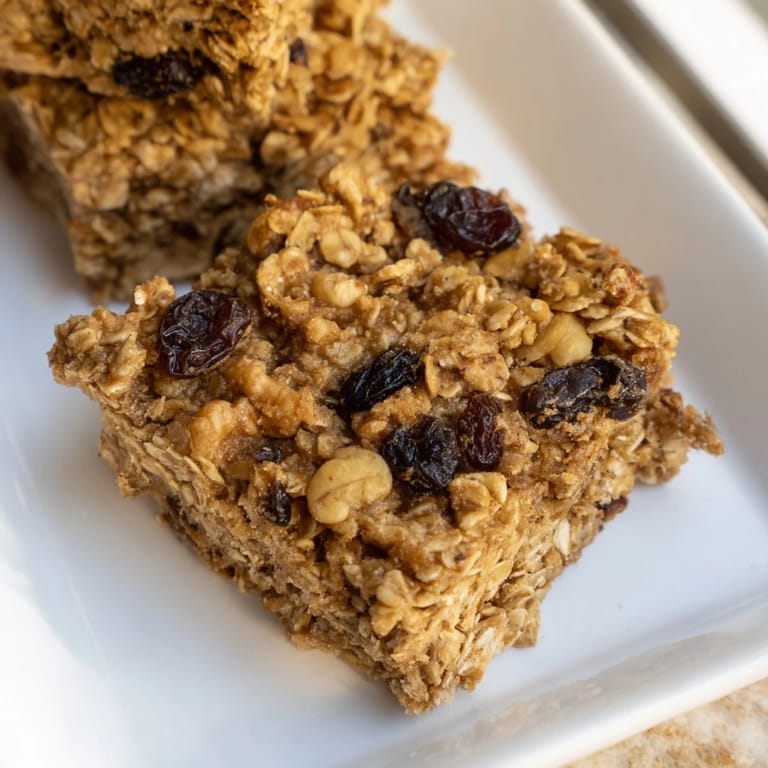
 There was a morning my daughter grabbed two of these on her way out the door, and later she texted me that they were better than the granola bars we used to buy. That little message made the whole batch worth it, and now I keep a stash in the freezer so she can take them whenever she wants.
Make Them Your Own
I've stirred in chocolate chips when I wanted something closer to dessert, and swapped the raisins for dried blueberries when I found a bag in the pantry. You can press a few extra oats on top before baking for texture, or drizzle them with a little extra maple syrup while they're still warm. Once you make them a few times, you'll start knowing what you want without thinking about it.
Storing and Freezing
These bars keep in an airtight container on the counter for up to five days, getting a little chewier as they sit. If I know I won't finish them, I wrap each one individually in parchment and freeze them in a zip-top bag, then pull one out the night before or microwave it for twenty seconds in the morning. They thaw fast and taste almost as good as fresh, which is rare for something homemade.
Serving Ideas
I like these with a spoonful of Greek yogurt and a handful of berries when I have time to sit down, or wrapped in a napkin when I don't. They're sturdy enough for road trips and camping breakfasts, and they don't need refrigeration unless it's really hot out.
- Warm one up and spread a thin layer of almond butter on top for extra protein.
- Crumble a bar over a bowl of vanilla yogurt with sliced bananas.
- Pack them with a thermos of coffee for an easy grab-and-go morning.
 Pin it
 These bars have become one of those recipes I don't think about anymore, I just make them. They've earned their place in my kitchen because they're simple, reliable, and they make mornings feel a little more manageable.
Recipe FAQs
- → What type of oats work best for these bars?
Old-fashioned rolled oats provide the best texture, offering a chewy consistency that holds well in the bars.
- → Can I make these bars dairy-free?
Yes, substitute melted butter with coconut oil to keep the bars dairy-free without sacrificing flavor.
- → How can I add variety to the bars?
Incorporate mix-ins like chopped nuts, raisins, dried cranberries, or even chocolate chips to add different textures and flavors.
- → What is the best way to store these bars?
Store them in an airtight container at room temperature for up to five days, or freeze for longer preservation.
- → Can these bars be made vegan?
Yes, replace the egg with a flax egg (1 tbsp ground flaxseed mixed with 3 tbsp water) for a vegan-friendly version.