 Pin it
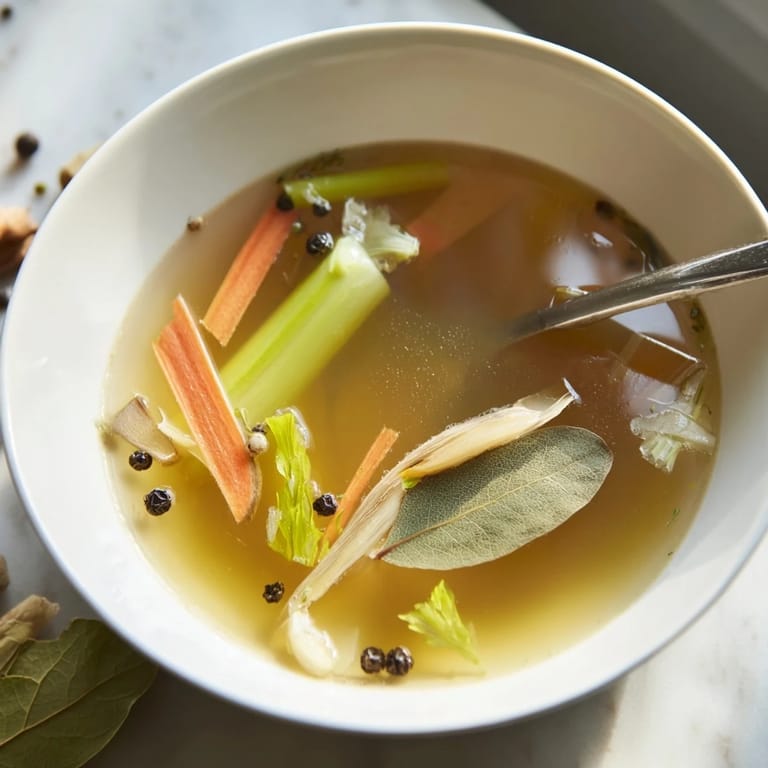
 I started keeping a gallon freezer bag in our kitchen after watching my grandmother toss nothing into the compost that could become something else. Every carrot peel, onion end, and celery trimmings went into that bag until it was full. That first batch of broth smelled like pure magic simmering on the stove for hours. Now my freezer always has at least two bags waiting to transform into liquid gold.
Last winter my friend came over sick and I made her a mug of this broth with some extra garlic and thyme. She sat curled up on my couch sipping it slowly, looking more alive with every sip. That moment convinced me that simple food made with intention is the best kind of medicine.
Ingredients
- Vegetable scraps: 5 to 6 cups of carrot peels, onion skins, celery ends, leek tops, mushroom stems, garlic skins, parsley stems and similar trimmings make the most flavorful base
- Bay leaves: 2 whole leaves add a subtle earthy depth that builds as the broth simmers
- Black peppercorns: 8 to 10 whole berries infuse gentle warmth without being overpowering
- Garlic: 2 smashed cloves optional but adds a wonderful aromatic background
- Fresh herbs: A handful of parsley or thyme sprigs brings brightness and rounds out the flavor
- Salt: 1 to 2 teaspoons to taste and enhance all the vegetable flavors
- Cold water: 2 liters or 8 cups to extract all the goodness from your scraps
Tired of Takeout? 🥡
Get 10 meals you can make faster than delivery arrives. Seriously.
One email. No spam. Unsubscribe anytime.
Instructions
- Gather your scraps:
- Collect fresh clean trimmings from carrots onions leeks celery garlic mushrooms and herbs avoiding bitter vegetables like broccoli Brussels sprouts or cabbage
- Combine everything:
- Place the vegetable scraps bay leaves peppercorns garlic and salt in a large stockpot then pour in the cold water
- Bring to a boil:
- Set the pot over medium high heat and wait for bubbles to appear then immediately reduce to a gentle simmer
- Simmer slowly:
- Let the broth cook uncovered for 1 hour skimming any foam that rises to the surface occasionally
- Season to taste:
- Add a little more salt if needed keeping in mind you can always adjust later when using the broth
- Strain carefully:
- Pour the broth through a fine mesh sieve or cheesecloth into a clean container discarding all the solids
- Store properly:
- Cool the broth then refrigerate in airtight containers for up to 5 days or freeze for up to 3 months
 Pin it
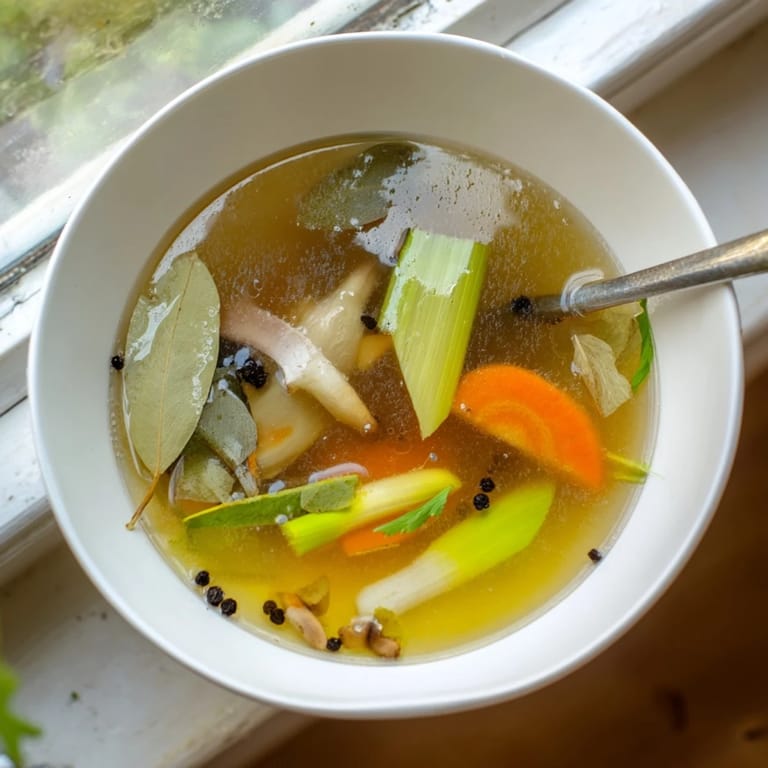
 My partner now instinctively saves vegetable scraps without asking and it has become this quiet ritual between us in the kitchen. We have conversations about our days while adding peels and ends to the freezer bag. Making broth together feels like turning small moments into something lasting.
Building Your Scrap Collection
Keep a large resealable bag in your freezer and add trimmings as you cook throughout the week. Some weeks it fills up faster than others depending on how much fresh cooking I am doing. When the bag is full I know it is time to make another batch.
Customizing The Flavor
The beauty of this recipe is that every batch tastes slightly different based on what scraps you have saved. Sometimes it is sweeter with more carrot and onion other times more earthy with extra mushroom stems and herbs. I love that unpredictability and how it keeps me tasting and adjusting each time.
Making It Last
I freeze my broth in different sized containers so I always have the right amount for whatever I am cooking. Small jars work perfectly for sipping or adding to grains while larger containers are ideal for soup bases. Label everything with the date since frozen broth all looks the same after a few weeks.
- Pour cooled broth into ice cube trays for tiny portions that melt instantly into pan sauces
- Leave an inch of headspace in containers since liquid expands when frozen
- Thaw frozen broth in the refrigerator overnight for the best texture
 Pin it
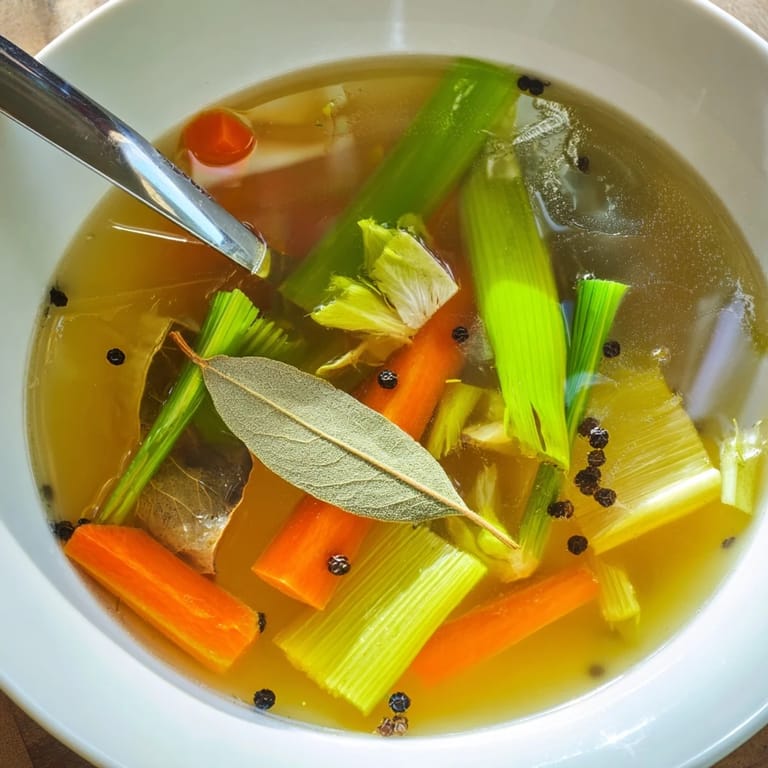
 There is something profoundly satisfying about creating something so valuable from what would otherwise be thrown away. Every cup of this broth carries the story of meals past and promises of meals to come.
Recipe FAQs
- → What vegetables work best for homemade broth?
Carrot peels, onion skins, celery ends, leek tops, mushroom stems, garlic skins, and parsley stems create excellent flavor. Avoid bitter vegetables like broccoli, Brussels sprouts, and large amounts of cabbage for a cleaner taste.
- → How long does homemade vegetable broth keep?
Store cooled broth in airtight containers in the refrigerator for up to 5 days. For longer storage, freeze portions for up to 3 months. This allows you to always have nourishing broth ready for soups, grains, or sipping.
- → Can I enhance the flavor of my vegetable broth?
Add depth by including dried shiitake mushrooms or kombu seaweed for umami richness. Fresh herbs like parsley or thyme sprigs contribute aromatic notes, while smashed garlic cloves add subtle warmth. Adjust salt to taste before straining.
- → Should I collect scraps before making broth?
Yes! Keep a sealable bag in your freezer and add vegetable trimmings as you cook. Once you accumulate 5-6 cups, you're ready to simmer a batch. This zero-waste method ensures nothing goes to waste while providing continuous broth supply.
- → What's the best way to strain the broth?
Use a fine-mesh sieve or cheesecloth to remove all solids for a clear, clean broth. Set the sieve over a large bowl and ladle the simmered mixture through. Discard the cooked vegetables and aromatics, then cool the liquid before storing.
- → Is this broth suitable for special diets?
Absolutely. This broth is naturally vegan, gluten-free, and low fat. It contains no common allergens like dairy, nuts, or soy, making it perfect for various dietary needs while providing rich flavor and nourishment.